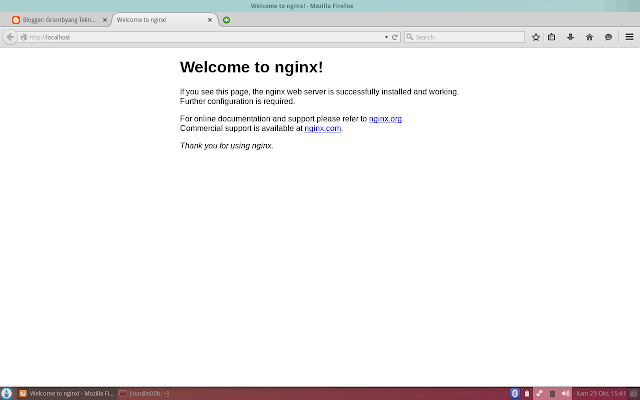
Nginx (dibaca Engine X) merupakan salah satu software aplikasi Web
Server. Nginx memiliki kelebihan dibandingkan software web server
lainnya yaitu tingkat keamanannya lebih tinggi & stabil.
Berikut cara cara instalasi nginx di ubuntu

Sekian dari Ane semoga bermanfaat :)
Berikut cara cara instalasi nginx di ubuntu
- Buka terminal (ctrl+alt+t)
- Masukkan perintah di bawah ini
sudo apt-get update && sudo apt-get install nginx
- Buka terminal
- Buka file konfigurasi nginx di /etc/nginx/sites-available/default
sudo gedit /etc/nginx/sites-available/default
- Kemudian rubah line berikut menjadi seperti:
[...]server {listen 80;## listen for ipv4; this line is default and impliedlisten [::]:80 default ipv6only=on;## listen for ipv6root/usr/share/nginx/www;index index.php index.html index.htm;# Make site accessible from http://localhost/server_name _;location / {# First attempt to serve request as file, then# as directory, then fall back to index.htmltry_files $uri $uri//index.html;}location/doc{root/usr/share;autoindex on;allow 127.0.0.1;deny all;}location/images{root/usr/share;autoindex off;}#error_page 404 /404.html;# redirect server error pages to the static page /50x.html#error_page 500 502 503 504/50x.html;location =/50x.html {root/usr/share/nginx/www;}# proxy the PHP scripts to Apache listening on 127.0.0.1:80##location ~ \.php$ {# proxy_pass http://127.0.0.1;#}# pass the PHP scripts to FastCGI server listening on 127.0.0.1:9000#location ~ \.php$ {try_files $uri =404;fastcgi_pass 127.0.0.1:9000;fastcgi_index index.php;include fastcgi_params;}# deny access to .htaccess files, if Apache's document root# concurs with nginx's one#location ~ /\.ht {deny all;}}[...] - Save lalu restart nginx
sudo service nginx restart

Sekian dari Ane semoga bermanfaat :)
Install dan Konfigurasi Nginx di Ubuntu
4/
5
Oleh
Unknown


1 komentar:
Mantap tutorialnya nih mas saya izin simpan :)
Reply